
May 10, 2026
How to Froth Milk at Home: Every Method That Actually Works
Frothed milk is the difference between coffee and a coffee drink. Pour a flat shot of espresso into a cup and you have a small bitter drink. Pour the same shot under a layer of silky foamed milk and you have a latte, a cappuccino, a flat white. The milk did the work.
Most home coffee drinkers think frothing milk requires an espresso machine. It does not. There are at least five ways to froth milk in a normal kitchen with things you already own. A jar and a microwave can produce foam that looks identical to what a barista pours.
This guide covers every method. The milk that works best, the texture you are aiming for, the temperature target, and the things that quietly ruin most first attempts.
Why milk frothing matters
When you froth milk, two things change. The milk gets hot, and air gets folded into it. Both transform how the milk tastes and feels.
Heat sweetens milk. The lactose does not register as particularly sweet at fridge temperature, but as the milk warms toward 150 F (66 C), the sugars start to taste more present on the tongue. Properly steamed milk is noticeably sweeter than the same milk poured cold from the carton. That natural sweetness is why a good latte does not need added sugar.
Air, folded into the milk as microscopic bubbles, changes the mouthfeel completely. Flat milk is thin. Foamed milk is dense and creamy, with a texture closer to wet paint than to liquid. That texture coats the tongue and carries the coffee flavor across the palate slowly instead of washing it away.
Get both right and the milk does most of the work. The espresso can be ordinary and the drink will still be good. Get them wrong and the same espresso under thin, scorched milk tastes like a punishment.
Best milk to use
Different milks froth differently. The reason is protein and fat content, not magic.
Whole milk is the standard. The fat carries flavor and creates a heavier, glossier foam. The protein gives the bubbles structure. A properly frothed whole milk pour looks like wet latex paint and tastes faintly sweet on its own.
2 percent milk froths almost as well and many baristas prefer it for cappuccino because the foam comes out a touch stiffer.
Skim milk produces the largest volume of foam because there is no fat weighing it down, but the texture is dry and meringue-like. It collapses fast and leaves a hollow, airy foam.
Oat milk is the best non-dairy option by a wide margin. Look for a carton labeled "barista edition." These have added stabilizers and a small amount of oil that lets the milk hold foam like dairy does. Regular oat milk goes thin and watery under heat. Oatly Barista, Minor Figures, and Califia Barista Blend all work. Frothed oat milk is slightly sweeter than dairy with a faint cereal flavor.
Almond milk is harder to froth than oat. Protein content is low, so foam collapses fast. Barista versions help, but the foam will still be thinner than dairy or oat.
Soy milk froths well because protein content is high. A good barista soy produces foam that is dense and stable, closer to dairy than almond is.
If you can drink dairy and you are starting out, use whole milk.
Method 1: Steam wand on an espresso machine
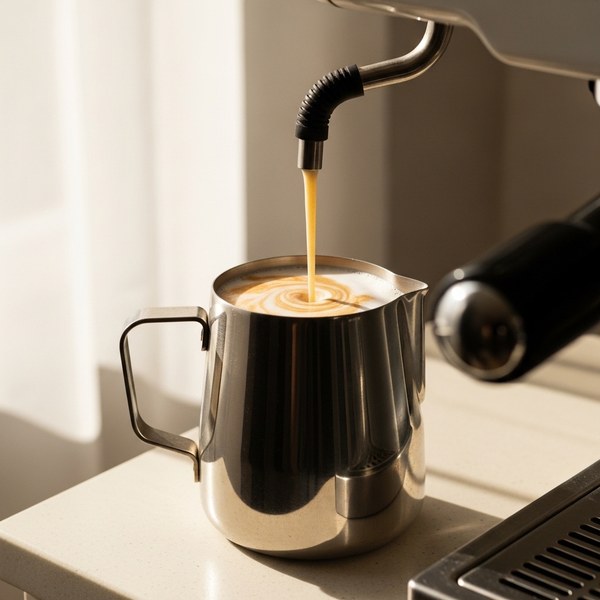
This is what every coffee shop uses and it is the gold standard. The steam wand injects high-pressure steam into cold milk. The combination of heat and air creates microfoam, the silky paint-like texture latte art is made from. No other home method comes as close.
Step 1. Pour cold milk into a stainless steel pitcher to just below the spout. Milk doubles in volume as it foams.
Step 2. Purge the steam wand into the drip tray to clear water from the line.
Step 3. Position the wand tip just below the surface of the milk. Turn the steam on full. Listen for a soft hiss as air folds in. This is stretching. Do it for 4 to 6 seconds.
Step 4. Drop the pitcher slightly so the wand sits deeper and the surface stops hissing. The milk now spins in a whirlpool. This is texturing. The whirlpool breaks large bubbles into microfoam.
Step 5. When the pitcher is too hot to hold comfortably (around 140 to 155 F / 60 to 68 C), cut the steam.
Step 6. Wipe and purge. Tap the pitcher on the counter to pop large bubbles, swirl until glossy, then pour.
This takes ten seconds in practice and an hour to learn. A cheap clip-on thermometer removes the guesswork until you can feel it.
Method 2: Handheld electric frother
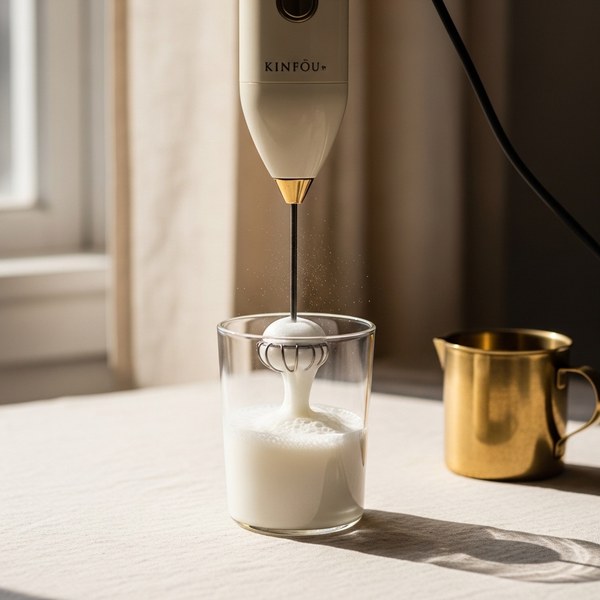
A handheld frother is a small battery-powered wand with a whisk on the end. It costs about ten dollars and is the closest thing to a steam wand without an espresso machine. It will not produce true microfoam, but for lattes and hot chocolate it gets startlingly close.
Step 1. Heat half a cup (120 ml) of milk to about 150 F (66 C). Microwave for 40 to 50 seconds or use a saucepan on medium heat. Do not let it boil.
Step 2. Pour the warm milk into a tall, narrow mug or measuring cup. Tall and narrow gives the milk somewhere to climb as it foams.
Step 3. Submerge the whisk just below the surface and turn it on. Move slowly up and down. The milk lifts and doubles in volume. Takes 20 to 30 seconds.
Step 4. Stop. Tap, swirl, pour.
Handheld frothers struggle with cold milk, so always heat first. They also struggle with non-barista oat and almond milks. For dairy and barista plant milks they are effective for the price.
Method 3: French press
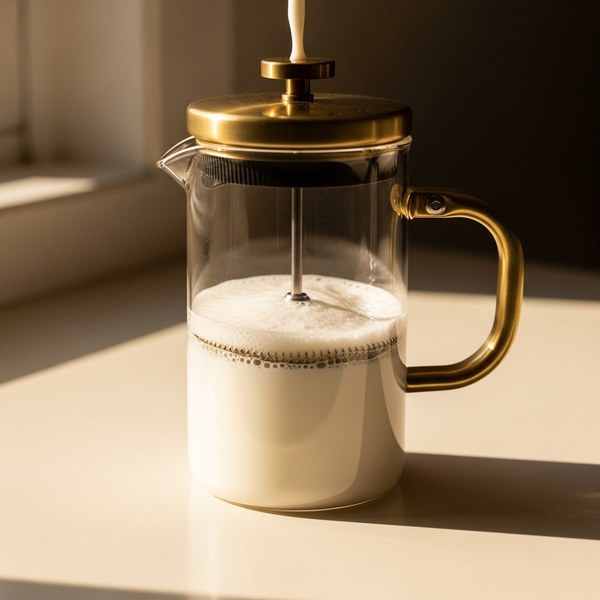
The French press you use for coffee is also one of the best home milk frothers, and almost nobody knows. The plunger is essentially a manual microfoam generator. The mesh chops large bubbles into small ones with every push, producing a texture noticeably closer to a steam wand than any whisk method.
Step 1. Make sure the French press is clean. Coffee residue contaminates the milk fast.
Step 2. Warm half a cup (120 ml) of milk to about 150 F (66 C). Cold milk does not foam in a French press.
Step 3. Pour the warm milk in. Do not fill more than a third of the way. The milk needs room to expand.
Step 4. Insert the plunger but do not press down. Pump briskly up and down for 30 to 60 seconds. You will hear the milk thicken as foam forms.
Step 5. When the milk has roughly doubled and looks glossy, stop. Tap, swirl, pour.
This requires nothing you do not already own if you make French press coffee. It is the highest-quality non-electric option in this guide.
Method 4: Jar and microwave
The jar shake method is the lowest-tech option and it works astonishingly well. A sealed jar plus 30 seconds of shaking plus 30 seconds in the microwave gives you frothed milk with no equipment beyond a jar.
Step 1. Pour half a cup (120 ml) of cold milk into a clean jar with a tight lid. The jar needs to be at least double the volume of the milk.
Step 2. Seal and shake hard for 30 to 60 seconds. The milk lifts and turns into a frothy white mass. Keep going until the volume has roughly doubled.
Step 3. Take the lid off completely. Critical. Do not microwave a sealed jar. Run it for 30 seconds.
Step 4. The heat stabilizes the foam and pushes it up. Foam now sits in a stable layer on top of warm liquid milk.
Step 5. Spoon the foam onto your coffee. Pour the warm liquid milk underneath. You have a passable latte made with no equipment.
The foam is drier and stiffer than what a steam wand produces. It is closer to cappuccino foam than to latte microfoam. For a weekday drink at home it is more than enough.
Method 5: Microwave alone with a whisk
If you do not own a jar with a tight lid, you can still froth milk in a microwave with a whisk. Warm milk plus mechanical agitation equals foam.
Step 1. Pour half a cup (120 ml) of milk into a microwave-safe mug. Heat 40 to 50 seconds on high. Steaming but not boiling.
Step 2. Whisk hard with a small whisk or a fork. Keep it just below the surface so air folds in with every stroke. 30 to 60 seconds.
Step 3. Foam forms on top in a loose layer. Tap and pour.
The whisk method is the lowest-quality option here. Included because at 5am on a tired Tuesday morning, sometimes the only equipment you can find is a fork. A fork still works.
Texture goals: microfoam vs dry foam
Knowing what kind of foam you want changes how you froth.
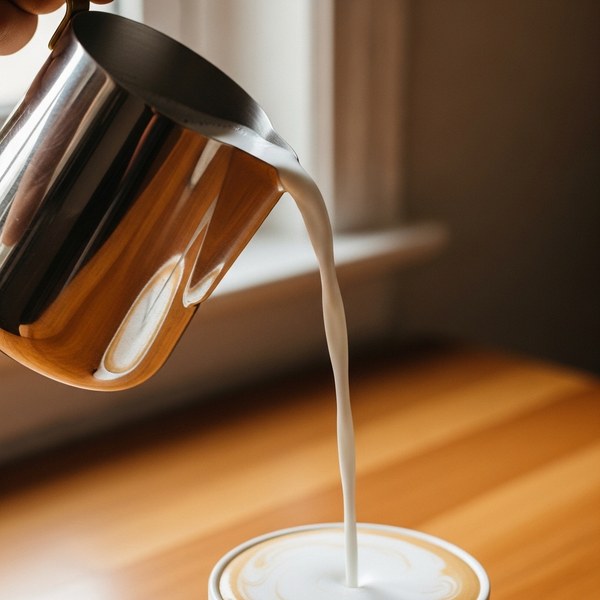
Microfoam is the silky, paint-like texture you want for a latte, flat white, or cortado. Bubbles are so small they are invisible. The milk looks glossy and pours in a smooth stream. When you tip the pitcher, microfoam moves as one fluid mass. Steam wands produce this. Skilled French press frothing approximates it.
Dry foam is the stiff, meringue-like foam you want for a cappuccino. Bubbles are bigger and there is more air per volume. Dry foam sits on top of the drink in a defined layer. You can scoop it. The jar and whisk methods produce this naturally.
For a latte, you want maybe a centimeter of foam on top of mostly textured milk, flowing as one. For a cappuccino, you want a thick crown sitting on a smaller amount of steamed milk. Cappuccino foam is roughly half the drink by volume. Latte foam is closer to a tenth.
For latte art you need microfoam: steam wand or French press. For a quick cappuccino, jar shake or whisk is faster and the texture is actually correct.
Temperature target
Aim for 140 to 155 F (60 to 68 C). That is the entire rule.
Below 140 F (60 C), the milk is not warm enough to taste sweet and it cools the espresso to lukewarm. Above 155 F (68 C), the milk starts to scald. The proteins denature, the natural sugars caramelize and then burn, and the foam loses its structure. Past 175 F (79 C) you are drinking warm cardboard.
A cheap clip-on thermometer eliminates the guesswork until you can feel temperature with the side of the pitcher. The trick is that 150 F (66 C) is just past the point where you cannot keep your hand on the pitcher comfortably.
Plant milks have lower targets. Oat milk in particular tastes best around 140 F (60 C) and starts to split at 160 F (71 C). Stop sooner.
This is where most beginners go wrong. They want the milk piping hot, and they cook it past the point where it tastes like anything. A 145 F (63 C) latte in a warm ceramic cup stays enjoyable for fifteen minutes. A 175 F (79 C) latte tastes burnt the moment you make it.
Frequently asked questions
Can you froth cold milk? A steam wand can. Every other method works better if you warm the milk to about 150 F (66 C) first.
Why does my milk not foam? Usually the milk is too cold, past its prime, or low in protein. Switch to whole dairy or barista-edition plant milk and warm it first.
What is the difference between steamed milk and frothed milk? Steamed milk is heated with a thin foam layer on top. Frothed milk has a thicker layer of aerated foam. Lattes use steamed. Cappuccinos use frothed.
Can you froth milk without a frother? Yes. French press, a jar with a microwave, or a small whisk all work.
Is oat milk hard to froth? Only the regular kind. Barista-edition oat milk froths almost as well as dairy.
How hot should milk be for a latte? 140 to 155 F (60 to 68 C). Hotter scalds.
Can I froth milk the night before? No. Foam collapses within minutes.
Why does my foam have big bubbles? Air added too quickly. Swirl until the surface looks glossy.
What pitcher size should I buy? 12 oz (350 ml) for one drink, 20 oz (600 ml) for two.
Does frothing add calories? No. You are adding air, not anything else.
The point of doing it at home
A latte at a coffee shop costs five to seven dollars. The milk in that latte costs about thirty cents. Once you can froth milk, the only thing between you and a cafe-quality drink at home is the espresso shot. The point of learning to froth milk at home is the same as the point of learning to make cold brew at home: the drink you want, the way you want it, with the beans you like, for less than the cost of a tip.
If you still want to support the cafes where you live, Pulled pays you back real cash for every check-in at any coffee shop. Drink the cafe version on weekends, drink the home version Monday through Friday, and the app counts both. See how the challenges work or read about how members are earning money drinking coffee in 2026.
Get Pulled.
Earn up to $10,000 exploring coffee shops. Real cash. Real shops. Real rewards.
Download PulledRelated reading: pour over vs espresso vs cold brew, specialty coffee vs chain coffee, what is third wave coffee, the best coffee apps in 2026, coffee shop loyalty programs that pay real money, how to find specialty coffee shops near you.
Our Picks
What we'd buy on Amazon for this
Third Wave Water · Classic Light Roast Profile (12-pack)
Third Wave Water solves the brewing water problem with a pre-formulated mineral mix.
Bodum · Pavina Double-Wall Glasses (Set of 6, 12oz)
The cafe glass for serving iced lattes, iced Americanos, and cold brew at home.
$40.99
View on Amazon →Hario · Cupping Spoon (Kasuya Model)
The right shape matters.


Pulled may earn a commission on purchases. Cookie applies to all Amazon items in your next 24 hours, not just this product.
See all Pulled Picks →Keep going with Pulled